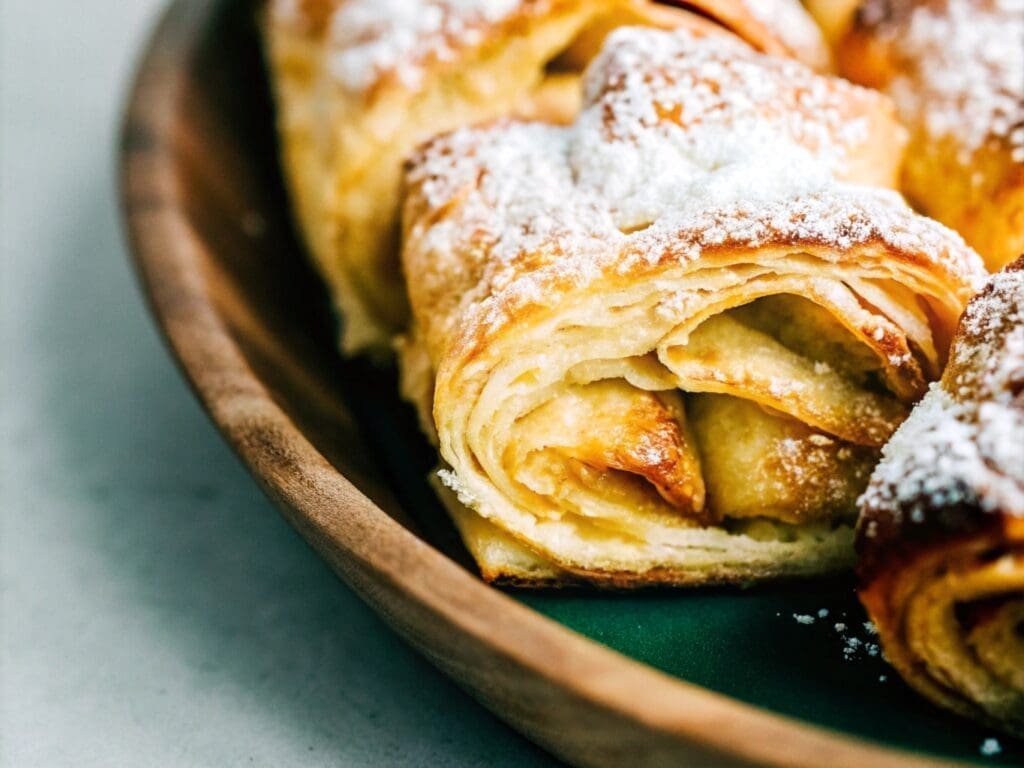
Nothing beats the comforting aroma of warm apples and cinnamon wafting through the house. Whether you’re hosting a dinner party, preparing a holiday spread, or just craving something sweet and simple, a puff pastry apple dessert is a showstopper. With its flaky layers of buttery pastry and caramelized apple filling, this dessert offers a perfect blend of textures and flavors. Plus, it’s versatile, easy to prepare, and sure to impress your family and guests.
In this article, we’ll take you step-by-step through creating the best puff pastry apple dessert. From the simple ingredients you need to creative variations and helpful tips, you’ll have everything you need to bake this delicious treat with confidence. Ready to bake something amazing? Let’s get started!

Ingredients
Before you start, gather all the ingredients you’ll need. Here’s a handy table for quick reference:
| Ingredient | Quantity | Notes |
|---|---|---|
| Puff pastry sheets (store-bought or homemade) | 1 package (2 sheets) | Thawed, but still chilled |
| Fresh apples (e.g., Granny Smith or Honeycrisp) | 3-4 medium | Peeled, cored, and sliced thin |
| Brown sugar | 1/2 cup | For a rich, caramel flavor |
| Granulated sugar | 2 tablespoons | Optional for extra sweetness |
| Ground cinnamon | 1 teaspoon | Adds a warm, spiced flavor |
| Lemon juice | 1 tablespoon | Prevents apples from browning |
| Unsalted butter | 2 tablespoons | Melted |
| All-purpose flour | 1 tablespoon | For dusting the work surface |
| Egg | 1 large | For egg wash (glossy finish) |
| Powdered sugar (optional) | For dusting | Adds a pretty finishing touch |
Ingredient Notes
- Puff Pastry: Store-bought puff pastry saves time, but homemade works too. Make sure it’s cold but pliable when working with it.
- Apples: Granny Smith apples are ideal because their tartness balances the sweetness, but Honeycrisp or Fuji apples also work well.
- Butter and Sugar: A mix of brown sugar and melted butter helps caramelize the apples perfectly, giving the dessert a rich flavor.
Substitutions and Additions
- Spices: Add a pinch of nutmeg or cardamom for extra depth of flavor.
- Sweeteners: Replace brown sugar with maple syrup or honey for a different twist.
- Fruits: Combine apples with pears or cranberries for a unique variation.
Instructions (Step-by-Step)
Now that we have all the ingredients ready, let’s move on to creating this delicious puff pastry apple dessert. Follow these step-by-step instructions for a perfect result every time.
1: Preheat the Oven and Prepare the Baking Sheet
- Preheat your oven to 400°F (200°C).
- Line a baking sheet with parchment paper to prevent sticking and ensure even baking.
2: Prepare the Apples
- Peel, core, and slice the apples into thin, even slices. Uniform slices ensure the apples cook evenly.
- Place the apple slices into a mixing bowl.
- Add the lemon juice to the apples and toss gently. This step prevents the apples from browning and adds a subtle tanginess.
- Sprinkle the apple slices with brown sugar and ground cinnamon. Toss until the apples are well coated.
Optional: Add a pinch of nutmeg or cardamom for a deeper, spiced flavor.
3: Roll Out the Puff Pastry
- Lightly dust your work surface with all-purpose flour to prevent sticking.
- Unroll or unfold the puff pastry sheets. If using a block of puff pastry, roll it out into a rectangular shape approximately 1/8 inch thick.
- Trim the edges to make a clean rectangle, as this ensures the pastry puffs up evenly. Save the scraps for decorations if desired.
4: Arrange the Apples on the Puff Pastry
- Carefully transfer the puff pastry sheet onto the lined baking sheet.
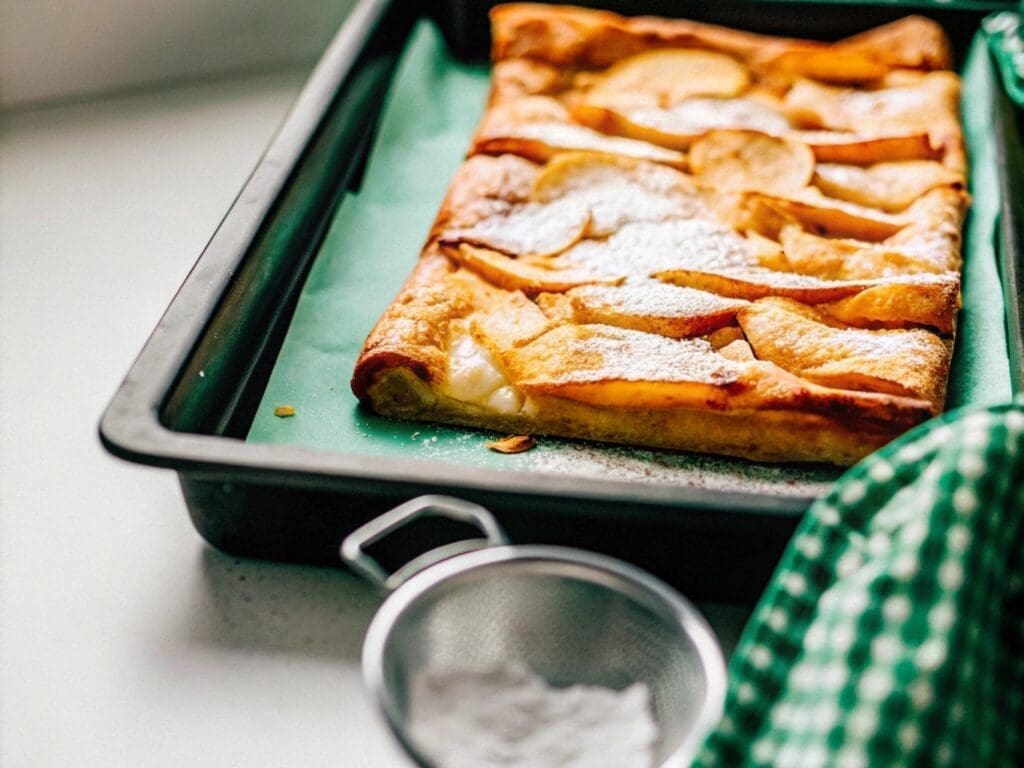
- Arrange the apple slices in neat rows, slightly overlapping each other. Leave about 1 inch of border around the edges of the pastry.
- Brush the edges of the pastry with melted butter for added richness.
5: Seal and Add the Finishing Touches
- Use a fork to gently crimp the edges of the puff pastry. This creates a decorative border and helps seal the edges.
- In a small bowl, beat the egg to create an egg wash. Brush the edges of the pastry with the egg wash for a golden, glossy finish.
- If desired, sprinkle a little granulated sugar over the apples for extra sweetness and crunch.
6: Bake the Dessert
- Place the baking sheet in the preheated oven. Bake for 20-25 minutes or until the puff pastry is golden brown and the apples are tender.
- Keep an eye on the pastry as it bakes to avoid over-browning. If the edges are browning too quickly, cover them with strips of aluminum foil.
7: Cool and Serve
- Remove the dessert from the oven and let it cool for about 10 minutes. This allows the filling to set slightly.
- Dust the dessert with a light layer of powdered sugar for a finishing touch.

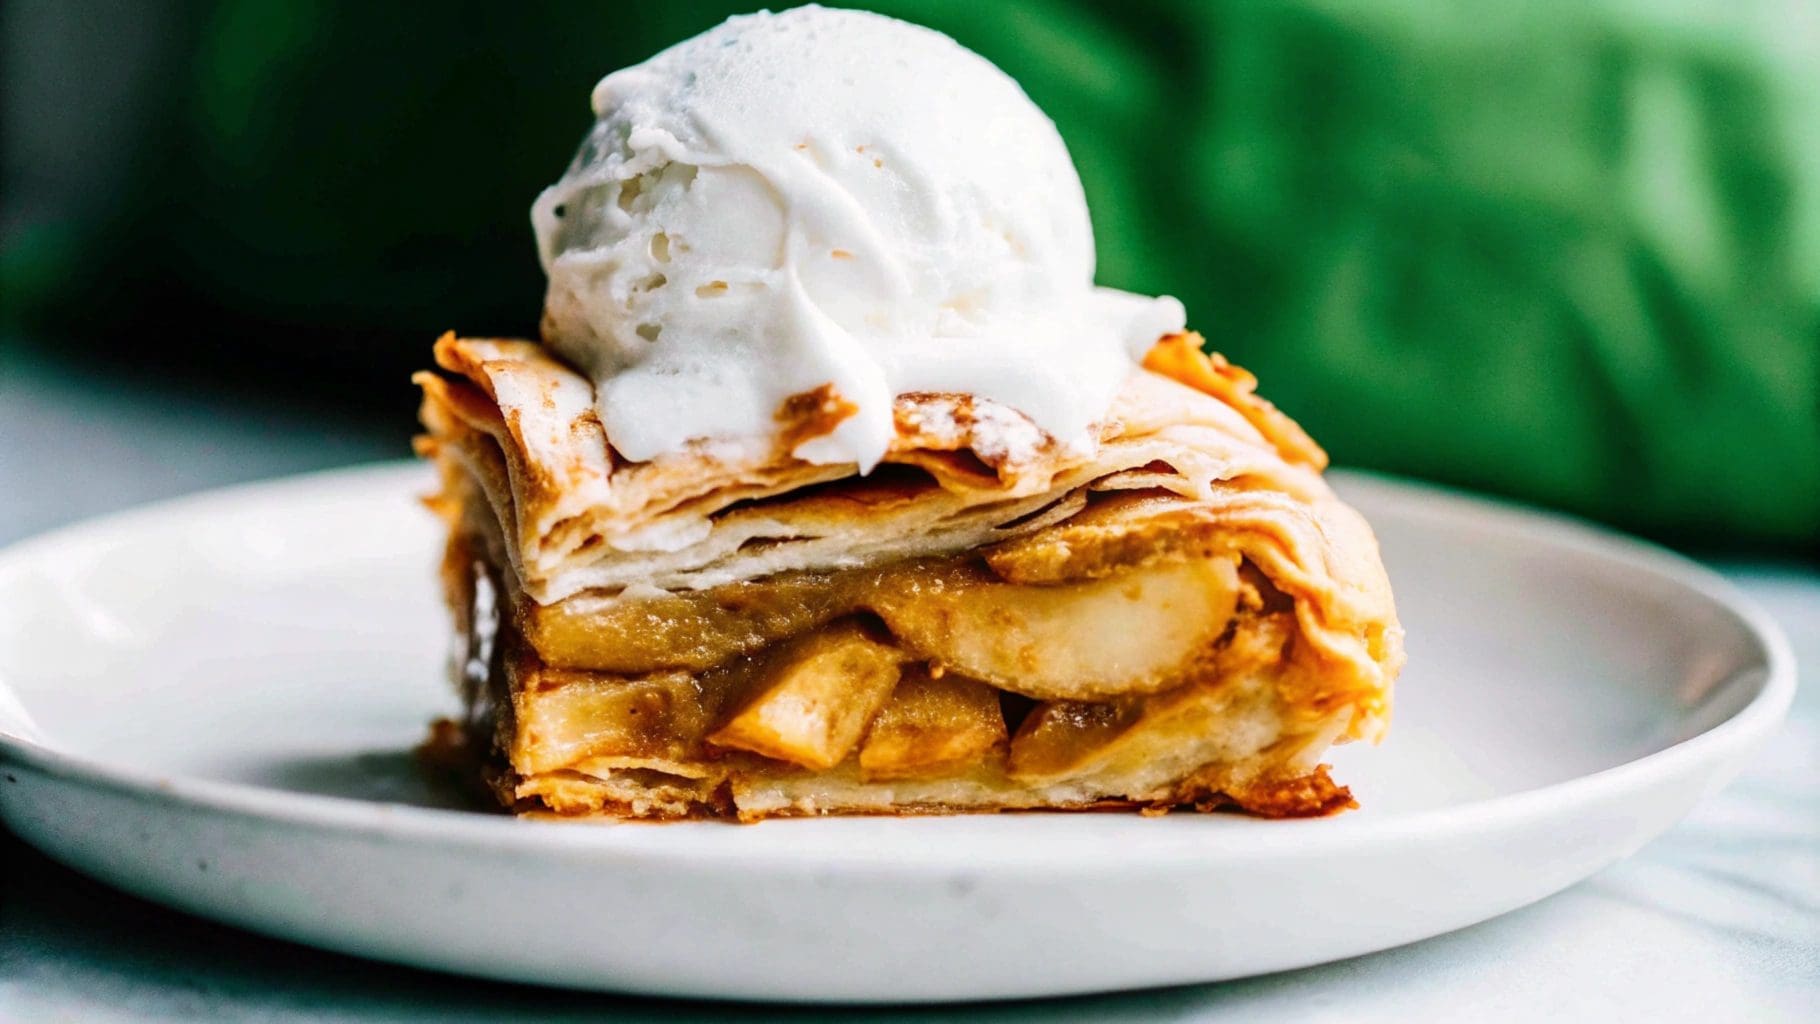
- Slice the dessert into portions and serve it warm or at room temperature. Pair it with a scoop of vanilla ice cream or a dollop of whipped cream for extra indulgence.
Tips for Perfect Results
- Chill the Puff Pastry: Always keep the puff pastry cold until you’re ready to use it. Warm puff pastry won’t puff up as beautifully.
- Even Slices: Thin, even apple slices ensure the filling cooks uniformly and doesn’t weigh down the pastry.
- Don’t Overfill: Adding too many apples can make the pastry soggy. A single layer works best for a crisp, flaky texture.
Cultural and Historical Context
The Origins of Puff Pastry
Puff pastry, known for its flaky, buttery layers, has a rich history that dates back to 16th-century France. Although variations of layered pastries existed earlier in Middle Eastern and Mediterranean cuisines, French bakers refined the technique into what we now call pâte feuilletée. This delicate dough uses hundreds of thin butter layers folded between the pastry, resulting in the signature “puff” when baked.
Interestingly, the creation of puff pastry was often attributed to a French apprentice, Cladius Gele, who stumbled upon the technique while trying to bake bread for his ailing father. His unique approach to folding and buttering dough gave rise to this iconic pastry, which became a cornerstone of French desserts.
Apples in Baking Traditions
Apples have been a staple in desserts for centuries, thanks to their natural sweetness, availability, and versatility. From apple tarts in Europe to classic apple pies in America, apples have played a key role in many cultures’ baking traditions. In France, the Tarte Tatin, an upside-down apple tart, remains a timeless classic, while in England, apple turnovers and crumbles dominate the dessert scene.
When combined with puff pastry, apples offer the perfect balance of texture and flavor—soft, caramelized fruit paired with crispy, buttery layers. This combination highlights both the simplicity and elegance of rustic baking traditions.
Why Puff Pastry and Apples Make the Perfect Pair
The beauty of a puff pastry apple dessert lies in its simplicity. The natural sweetness and slight acidity of apples enhance the buttery richness of the puff pastry. Additionally, the dessert’s versatility allows it to fit into various cultural and festive occasions. Whether served as a quick family treat or presented at a formal gathering, it never fails to delight.
In modern baking, store-bought puff pastry has made this recipe accessible to everyone. It bridges the gap between traditional techniques and modern convenience, allowing home bakers to achieve bakery-quality results without hours of preparation.
Fun Fact: Did You Know?
- The term “puff” in puff pastry refers to the steam created when butter melts in the oven. This steam causes the layers to rise and separate, creating the flaky texture we love.
- Granny Smith apples, one of the most popular apples for baking, were discovered in the 1860s by Maria Ann Smith in Australia.
Creative Variations and Customizations
One of the best things about a puff pastry apple dessert is its versatility. You can tweak the flavors, textures, and presentation to suit any occasion or dietary need. Here are some creative variations and customizations to inspire your next bake:
1. Caramel Apple Puff Pastry
For an indulgent twist, drizzle the apples with caramel sauce before baking. The caramel will bubble and blend with the apples, creating a gooey, sweet filling that pairs beautifully with the flaky pastry. Top it with a sprinkle of sea salt for a salted caramel version.
Tip: You can use store-bought caramel sauce or make your own by simmering sugar, cream, and butter.
2. Apple and Cranberry Puff Pastry
Add a burst of tanginess by combining fresh or dried cranberries with the apples. The tart cranberries balance the sweetness of the apples and add a festive touch, making it perfect for holiday gatherings.
How to do it: Mix 1/2 cup of cranberries into the cinnamon-sugar-coated apple slices before layering them on the puff pastry.
3. Apple Turnovers
Turn this recipe into portable individual treats by making apple turnovers. Simply cut the puff pastry into squares, fill each square with a spoonful of apple mixture, and fold into triangles. Seal the edges, brush with egg wash, and bake until golden.
Serving Idea: Drizzle the turnovers with a simple glaze made of powdered sugar and milk for an extra touch of sweetness. If you crave a different dessert, try our banana pudding ice cream recipe.
4. Nutty Apple Puff Pastry
Add a crunchy texture by sprinkling chopped nuts like walnuts, pecans, or almonds over the apple filling before baking. Nuts complement the softness of the apples and the crispness of the pastry.
Pro Tip: Toast the nuts lightly before adding them to enhance their flavor.
5. Vegan Apple Puff Pastry
Make this recipe vegan-friendly with a few simple swaps:
- Use a vegan puff pastry (many store-bought brands are naturally vegan).
- Replace the butter with coconut oil or a plant-based butter alternative.
- Skip the egg wash and brush the pastry edges with almond milk for a golden finish.
Serving Idea: Serve it with a scoop of vegan vanilla ice cream or a dollop of coconut whipped cream.
6. Spiced Apple Puff Pastry
Enhance the flavor with a blend of warm spices like nutmeg, ginger, and cardamom. These spices elevate the classic cinnamon flavor and add a cozy, aromatic touch.
How to do it: Add 1/4 teaspoon each of nutmeg, ground ginger, and cardamom to the cinnamon-sugar mixture before tossing it with the apples.
7. Apple and Cream Cheese Puff Pastry
For a creamy filling, add a layer of sweetened cream cheese beneath the apples. The tanginess of cream cheese pairs perfectly with the sweet apples and buttery puff pastry.
How to do it: Mix 4 oz of softened cream cheese with 2 tablespoons of powdered sugar and 1/2 teaspoon of vanilla extract. Spread this mixture onto the pastry before adding the apples. For dessert enthusiasts, check out what makes a cake red velvet.
8. Mini Puff Pastry Apple Tartlets
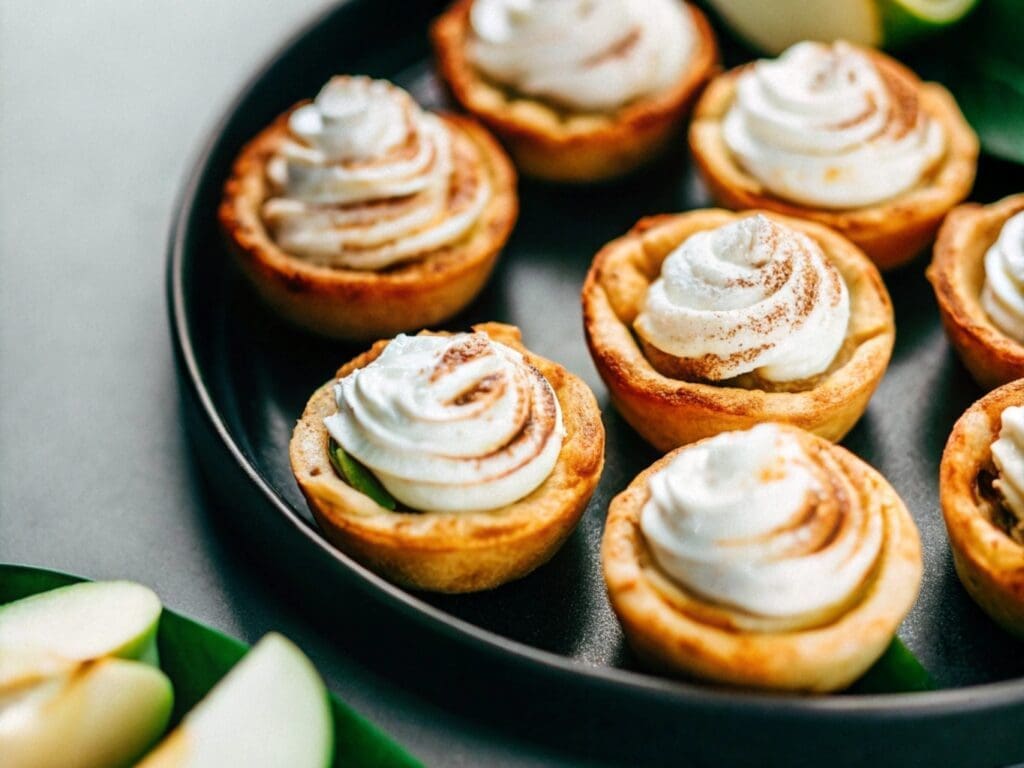
Make bite-sized desserts by cutting the puff pastry into small squares or circles and filling each one with a spoonful of apple mixture. These mini tartlets are great for parties, potlucks, or afternoon tea.
Tip: Top each tartlet with a tiny dollop of whipped cream or a sprinkle of powdered sugar for an elegant presentation.

FAQs
1. Can I make puff pastry apple dessert ahead of time?
Yes, you can prepare this dessert ahead of time. Assemble the puff pastry and apples, but don’t bake it right away. Instead, cover it with plastic wrap and store it in the refrigerator for up to 24 hours. When you’re ready to serve, bake it fresh to ensure the pastry stays flaky and crisp.
Tip: Avoid adding too much liquid to the apple mixture ahead of time, as this can make the pastry soggy.
2. What’s the best type of apple to use in puff pastry desserts?
Tart apples like Granny Smith are the best choice because they hold their shape well and balance the sweetness of the dessert. However, you can also use:
- Honeycrisp: Sweet and crisp
- Fuji: Mild and juicy
- Braeburn: Slightly tart and firm
Avoid overly soft apples, such as Red Delicious, as they can become mushy during baking.
3. Can I use frozen puff pastry, and do I need to thaw it first?
Yes, frozen puff pastry works perfectly for this recipe. However, it must be thawed before use. Leave it in the refrigerator for a few hours or on the counter for 20-30 minutes until it’s cold but pliable.
Tip: Don’t let the puff pastry become too warm, as this will prevent it from puffing properly in the oven.
4. How do I prevent the puff pastry from becoming soggy?
To avoid soggy puff pastry:
- Use a thin layer of apples to prevent excess moisture buildup.
- Sprinkle a little flour or breadcrumbs underneath the apples to absorb excess juices.
- Avoid overfilling the pastry with too many apples.
Pro Tip: Baking the dessert at a high temperature (400°F) helps the pastry crisp up quickly while the apples cook.
5. Can I freeze leftover puff pastry apple dessert?
Yes, you can freeze baked puff pastry apple dessert. Allow it to cool completely, then wrap it tightly in plastic wrap and place it in an airtight container. Freeze for up to 3 months.
To reheat: Bake the frozen dessert at 350°F (175°C) for about 15 minutes or until heated through and crisp. Avoid using a microwave, as this can make the pastry soft and chewy.
Conclusion
A puff pastry apple dessert is the perfect blend of elegance and simplicity. With its flaky, buttery layers and tender, spiced apples, this dessert satisfies both the eye and the palate. Whether you’re serving it for a cozy family dinner, a holiday feast, or a special celebration, it’s guaranteed to impress everyone at the table.
The best part? This recipe is incredibly versatile. You can stick to the classic version or experiment with variations like caramel drizzles, nut toppings, or vegan adaptations to suit different preferences. If you want to learn more, check out how to make peach cobbler with cake mix.
Now that you know how to make the best puff pastry apple dessert, it’s time to roll up your sleeves and give it a try. Don’t forget to pair it with a scoop of vanilla ice cream or a dusting of powdered sugar for that extra special touch. For more creative desserts, see our ultimate churro cheesecake recipe.
Ready to bake? Gather your ingredients, follow the steps, and treat yourself to a dessert that’s as beautiful as it is delicious. Happy baking!


Comments are closed.